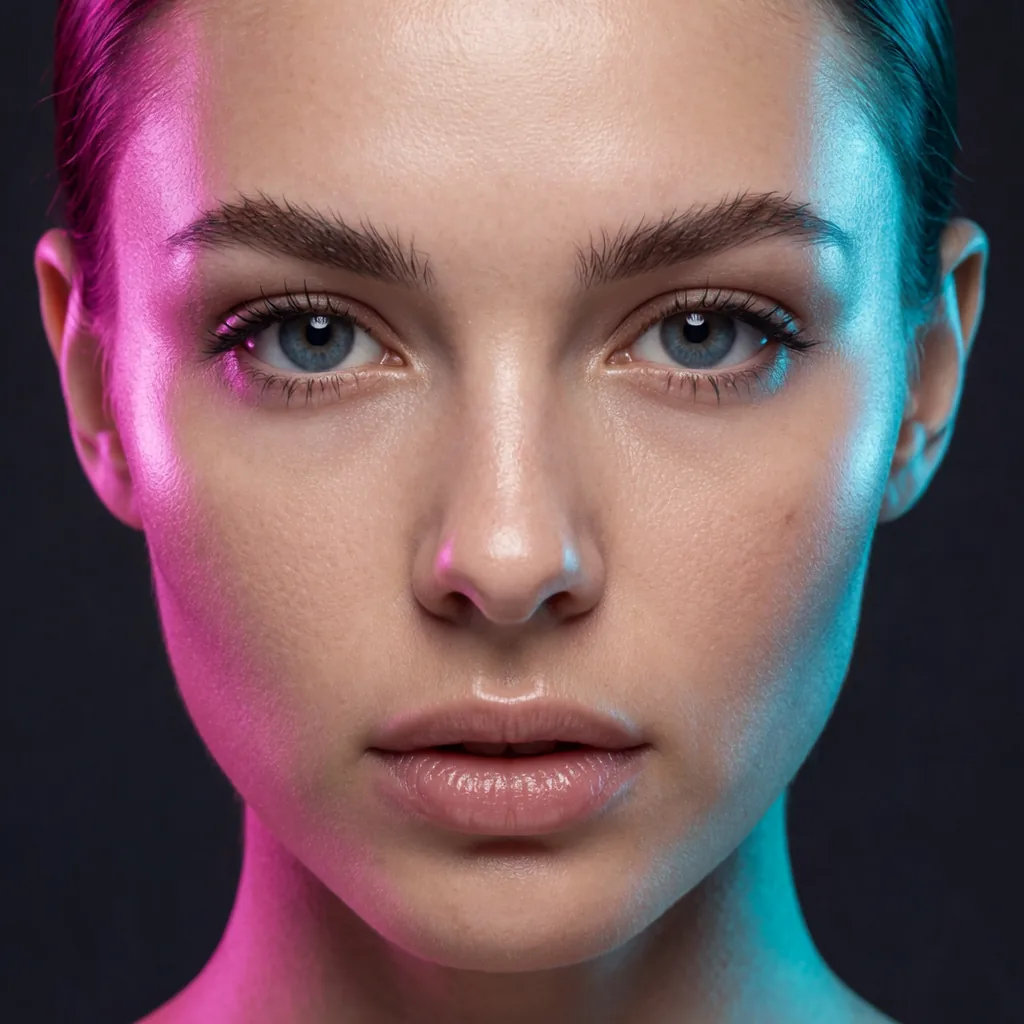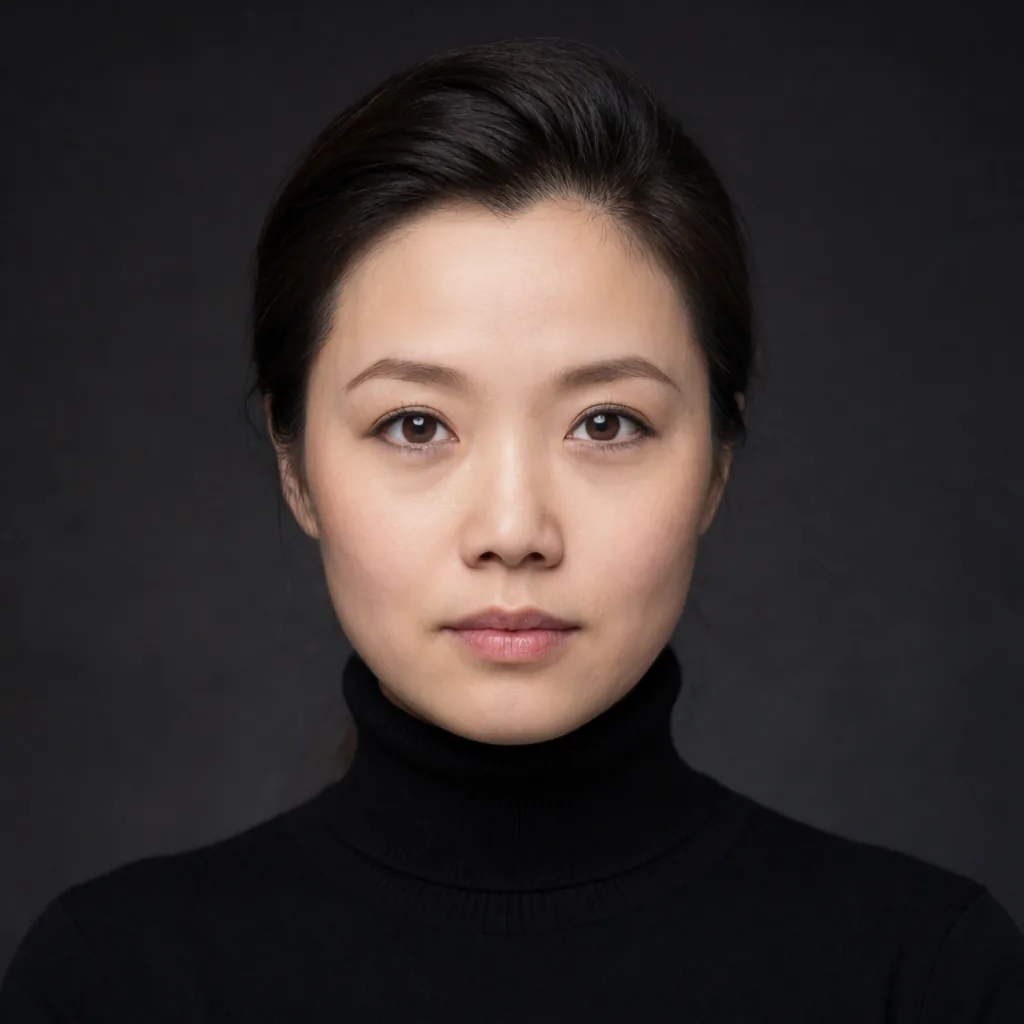
Video models are trained to predict motion. Ask one for a single still frame and you usually get something soft around the edges — like the model wanted to keep going and you cut it off mid-thought. MiniMax H3 is no exception. Treat it like an image model and you'll fight softness the whole time. Treat it like what it actually is, and the stills get sharp.
The five-frame trick
The fix is simple and a little counterintuitive: don't render one frame, render five, and keep the second one.
Single-frame renders from H3 consistently come out softer than they should. The model needs a frame or two of runway before it settles into something crisp. Frame one is still part of that settling process. Frame two is where it's sharp but hasn't drifted into motion yet. Past that, you start seeing the pose shift, expression change, or small warping creep in — the model doing what it's actually built to do.
So the workflow is: generate a short sequence, discard everything except the second frame, and treat that as your portrait. It costs a bit more compute than a single still, but the difference in sharpness is not subtle once you've seen it side by side.
If you want this wired up without hand-picking frames yourself, the H3 stills lesson walks through the setup, and the Character Portrait — one photo workflow has it built in already.
Resolution and shift
Once you're pulling the right frame, the next variable is resolution and shift. Around 1 megapixel is the sweet spot for this model — enough detail to hold up for a portrait, not so much that you're fighting the model's native comfort zone. Push well past that and you start spending extra compute without a proportional gain in sharpness.
Shift 6 is the other half of it. Shift controls how the sampling schedule is weighted, and for still-frame portrait work out of H3, 6 is where things land clean without the plastic smoothing you get from schedules tuned for motion instead of detail. If you've seen oversmoothed skin or flattened texture out of H3 before, shift is usually the first knob worth checking, before you start blaming the model or the prompt.
These two settings — resolution near 1MP, shift at 6 — are the baseline worth starting from before you tweak anything else. They're not a ceiling, but they're a sane default that saves you a round of trial and error.
The reference-crop bug
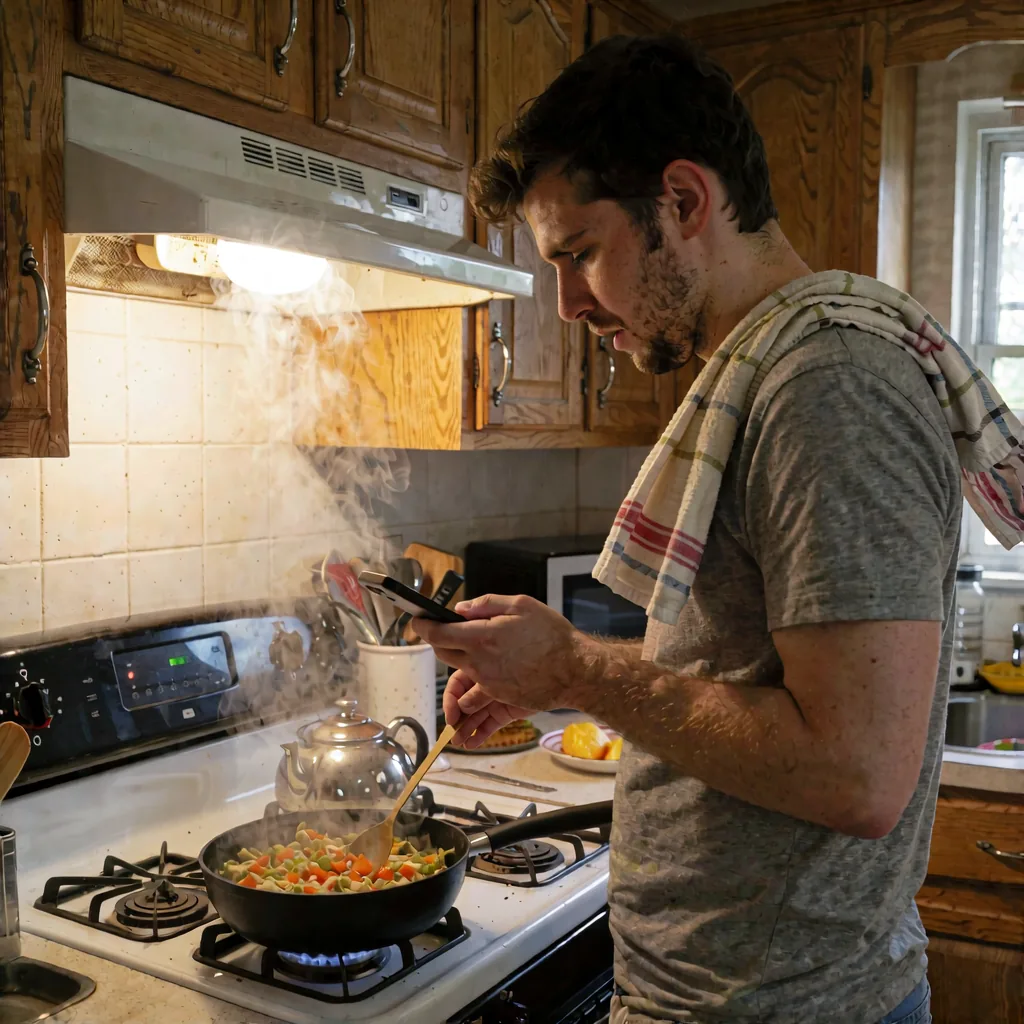
There's a specific gotcha with ref_image_size that will waste an afternoon if you don't know about it. Set it to max and H3 will copy the background from your reference photo straight into the output. Not inspired by it — copied. If your reference shot was taken in someone's kitchen, your portrait has that kitchen in it, whether you wanted it or not.
The fix is two parts. Set ref_image_size to match instead of max. And crop your reference image down to head and shoulders before you feed it in. H3 seems to key off the framing of the reference pretty literally — give it a tight crop and it stops treating the background as something to preserve.
This matters more than it sounds like. A lot of character consistency work starts from a single reference photo, and if that photo happens to have a distinctive wall, window, or piece of furniture in frame, it'll show up in every output until you catch the setting. Worth checking this before you build out a whole batch. If you're setting up a reference photo for the first time, the dataset-from-one-face lesson is a good place to start on how to prep that source image generally.
When to reach for a still-image model instead
All of this is a workaround, not a replacement. If your actual job is stills — a portrait session, a lookbook, product shots — you're usually better off generating in a model built for images from the start and skipping the five-frame dance entirely. H3's strength is motion and consistency across a shot, not raw per-frame sharpness, and no amount of frame-picking changes that fundamentally.
Where this recipe earns its keep is when you need a still that matches a character you're also animating in H3 — same face, same lighting logic, same model behavior — and you want the portrait to look like it came from the same production, not a different pipeline. In that case, pulling a frame out of the video model instead of switching tools keeps everything visually consistent. The Flow Image workflow is built around exactly this idea: using a video model to produce a still without most of the manual frame-picking.
Takeaway
If H3 stills are coming out soft, the fix usually isn't the prompt — it's the frame count, the resolution, and one setting that's quietly injecting a background you didn't ask for. Render five, keep frame two, stay near 1MP with shift 6, and crop your reference tight before you set ref_image_size to match.