People treat plastic skin like a bug with one cause. It isn't. It's addition. A face-detailer pass smooths a little, a refine pass smooths a little, an upscaler smooths a little, and by the time the image is done you've got three light touches of blur stacked on top of each other. None of them looks bad alone. Together they read as airbrushed.
The fix isn't a magic setting. It's cutting passes you don't need and being precise with the ones you keep.
Check before you touch anything
On Krea 2 RAW with the turbo LoRA at 0.6, 20 steps, the res_2s sampler, beta scheduler, and CFG 1.0, a portrait where the face already fills more than about 15% of the frame comes out of the main pass with good skin. No detailer required.
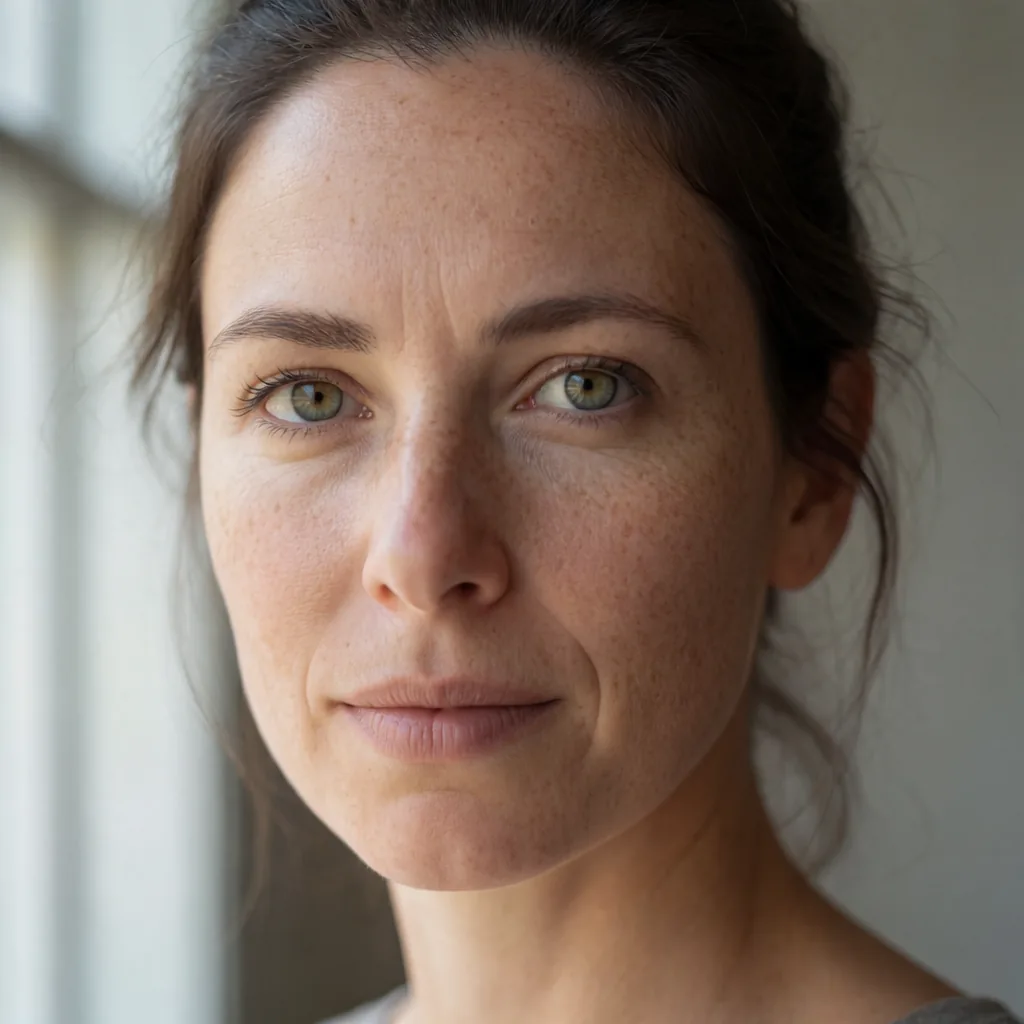
Most people skip this check and run FaceDetailer out of habit. Before adding any pass, crop the cheek at 400% and look. If the pores and fine texture are already there, you're done. Adding a detailer pass on top of a face that's already sharp is the single most common way plastic skin gets introduced — you're fixing nothing and smoothing something.
FaceDetailer: one knob matters
If the face is small in frame, or the eyes and mouth need cleanup, FaceDetailer earns its place. The one setting that actually matters is denoise:
- 0.30–0.40: repairs eyes and mouth, keeps identity and pores intact
- 0.45–0.55: visibly cleans skin, and starts moving moles and small marks
- 0.6 and above: you're not detailing a face anymore, you're generating a new one
Stay low. Run the detailer once — not twice for insurance — and feed it the same character LoRA used in the main pass. Skip that and identity drifts exactly where a viewer's eye goes first: the face. That's the worst place to lose likeness.
The lesson on face detail without the plastic look walks through the denoise range with before/after crops if you want to see the exact threshold where skin stops looking real.
Skip the second refine pass
A common instinct after FaceDetailer is to run one more low-denoise refine over the whole image, just to tie things together. In a side-by-side test on Krea 2 RAW, this changed nothing visible at 100% zoom and lost texture at 400%. It's a pass that costs time and buys you smoothing with no upside.
On community fine-tunes it's worse — the extra sampler chain is what causes confetti-style artifacts rather than a clean image. If you're chasing that kind of speckle, it's a separate problem with a separate fix, not something a second refine pass solves.
The rule: one detailer pass, if you need it at all. Not two.
Pick the right upscaler, and only one
Upscalers split into two camps. Generative upscalers like SeedVR2 reconstruct detail — pores, fine hair, fabric weave — because they're generating plausible texture, not just stretching pixels. ESRGAN-style upscalers interpolate: they're fast and fine for backgrounds, clothing, or video frames where fine skin detail isn't the point, but they smooth faces.
For a portrait where skin texture matters, use a generative upscaler. The SeedVR2 upscale workflow is built for exactly this — it brings back texture an interpolating upscaler would erase.
The rule that trips people up: never chain two upscalers. A generative pass followed by an interpolating pass keeps the smoothing of the second and throws away the benefit of the first. If you upscale once with SeedVR2, that's the only upscale pass the image needs. Don't run it through a second upscaler for extra resolution — resize instead, or start the generative pass at a higher target size.
Prompt and grain, the two free wins
At CFG 1.0 the negative prompt doesn't do anything, so typing "plastic skin" into the negative field is wasted effort. Put "natural skin texture" in the positive prompt instead — that's the field actually steering the generation at this CFG.
Last step, after the upscaler: a light film-grain pass. Real phone photos carry sensor noise. A perfectly clean output, even one with correct pore detail, still reads as synthetic next to a photo with grain. Grain is cheap and it's the detail that convinces a viewer's eye the fastest.
The working order
Put it together and the sequence is: main pass, FaceDetailer only if the face is small, one upscaler (generative if skin matters), grain last. Each step is optional except the main pass and the upscaler — check the cheek crop before you add anything, and don't repeat a pass because one pass felt insufficient.
If you're running this at volume rather than one portrait at a time, a RunPod template keeps the same pipeline consistent across a batch instead of re-tuning denoise on every image.
Takeaway: plastic skin is rarely caused by one bad setting — it's usually one pass too many. Check the crop first, keep FaceDetailer to a single low-denoise run with the character LoRA attached, upscale once with a generative model, and add grain last.The free Krea 2 workflow already has this order built in if you want to start from a clean base.